
The following is a bit of of tutorial in how to create this block from Jennifer's BOM. The final piece looks like this:
Instead of making the squares and then appliquing the leaves or using a button stitch on rough edges I wanted to finish the edges and then use the button stitch. So this is what I did...
I used interfacing (normal sewing interfacing), and cut out eight copies of the leaf pattern. Make your template with a 1/4 inch sewing area.


This is where I cut out the interfacing now. And I clipped the top corners.

I then make a small slit in the centre. This is where you turn your material inside out to look like the next picture. Right side is on top, and the sticky side of the interfacing is on the back.


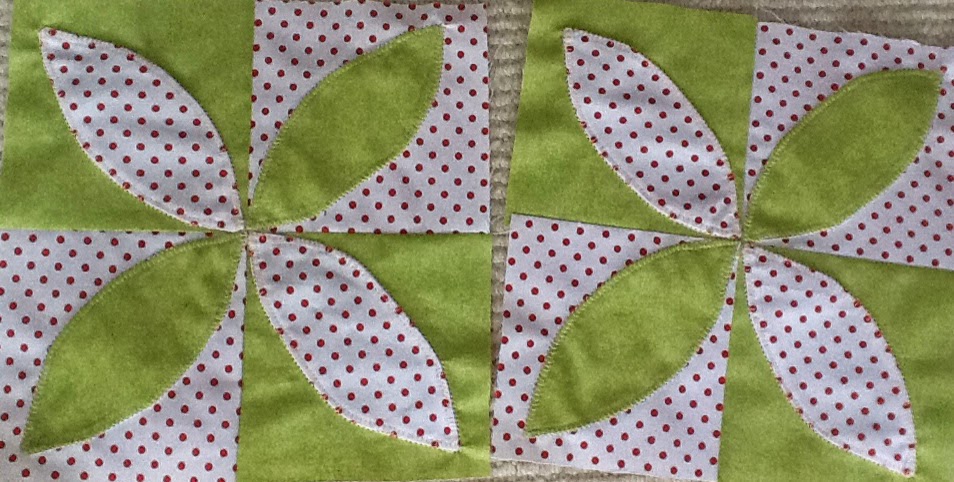
This block done. Almost completed the quilt. Thanks Jennifer for doing this great Block of the month that you can find here!!!!!!! I highly recommend it!
|
| Final block on the "Down the Rabbit Hole" BOM by Jennifer . |
I used interfacing (normal sewing interfacing), and cut out eight copies of the leaf pattern. Make your template with a 1/4 inch sewing area.
I pinned each interfacing to the material, and sewed 1/4 inch around the interfacing. When pinning the interfacing remember that the sticky side faces the right side of your material. This way when you cut it out and turn it inside out the sticky side will be on the back and the right side of the material will face you. Continue on to understand more.
I then make a small slit in the centre. This is where you turn your material inside out to look like the next picture. Right side is on top, and the sticky side of the interfacing is on the back.
Here's a hint to turning it inside out and not ripping the stitches because you are after all, stitching on interfacing which is really light. Use chop sticks. I have plastic ones that I got in China Town in Vancouver, BC. Take a look, small tip works great for turning things inside out, and you get two.
Once I have all the petals done, I place them on my block. I can pin them and iron them down. I then used my button hole stitch to sew it down.
And done. Looks great, and was so easy to do.


No comments:
Post a Comment